Instant Luxury for Rentals with Peel-and-Stick Surfaces

Today we’re diving into peel-and-stick surfaces that create a high-end look in rentals, turning ordinary rooms into polished, personalized spaces without risking your deposit. Discover how removable finishes mimic stone, tile, and wood, how to plan a stress-free weekend makeover, and how to maintain durability, all while keeping landlords happy. Expect detailed guidance, real-life examples, smart sourcing tips, and creative styling ideas tailored for kitchens, bathrooms, floors, and accent walls that impress immediately and come off cleanly when it’s time to move.

Start Smart: Materials, Adhesives, and Expectations

Before you unroll a single sheet, understand the difference between vinyl, PVC, PET, and engineered paper backings, and how their adhesives behave on painted drywall, ceramic tile, or laminate. Setting realistic expectations avoids disappointment: properly installed peel-and-stick looks refined, not cheap, when surface prep, temperature, and curing time are handled correctly. Know when a primer helps, why texture matters, and how to test removability on a discreet patch before committing to a full wall, backsplash, or countertop wrap.

Kitchen Transformations Without the Contractor

Kitchens gain the most impact from thoughtful peel-and-stick upgrades. A crisp backsplash, convincing stone-look counters, and cohesive appliance wraps elevate everything from studio apartments to family rentals. Plan seams to disappear behind appliances, and finish edges like a pro using aluminum trim, silicone beads in splash zones, and heat shielding near ranges. Small, focused interventions produce outsized drama, especially when coordinated with cabinet hardware, textiles, and purposeful task lighting that amplifies the refined finish.

Backsplashes That Shine

Subway, zellige, and herringbone effects are achievable with textured tiles or printed sheets that mimic realistic grout shadows. Start from the most visible corner, align the first course perfectly, and use a laser for consistent level. Bridge outlets by trimming neatly and rounding inside corners to prevent stress tears. Finish ends with metal edging, then seal the lower edge with clear, mildew-resistant silicone to guard against splashes. Under-cabinet lights will make the finish sparkle convincingly.

Countertops with Stone-Look Wraps

Faux quartz and marble films bring believable veining when patterns are bookmatched at front edges and inside corners. Feather overlaps along the drip edge, warm gently to conform, and use a felt squeegee to avoid scratches. Choose matte finishes to hide wear, and install cutting boards or trivets at heavy-use stations. Clean with non-abrasive sprays and soft cloths, avoiding harsh solvents. When it’s time to move, reheat edges and peel slowly for a clean release.

Appliance and Cabinet Refresh

Stainless-look or brushed graphite wraps unify mismatched appliances, instantly upgrading the room’s cohesion. Degrease thoroughly, remove handles, and wrap panels with tension-free strokes to avoid ripples. For cabinets, consider wood-grain films with consistent repeating patterns, aligning grains horizontally on drawers for modern lines. Label each door as you remove it, work on a padded table, and rehang with new knobs for a boutique finish. A coordinated peel-and-stick backsplash completes the sophisticated, renter-friendly transformation.

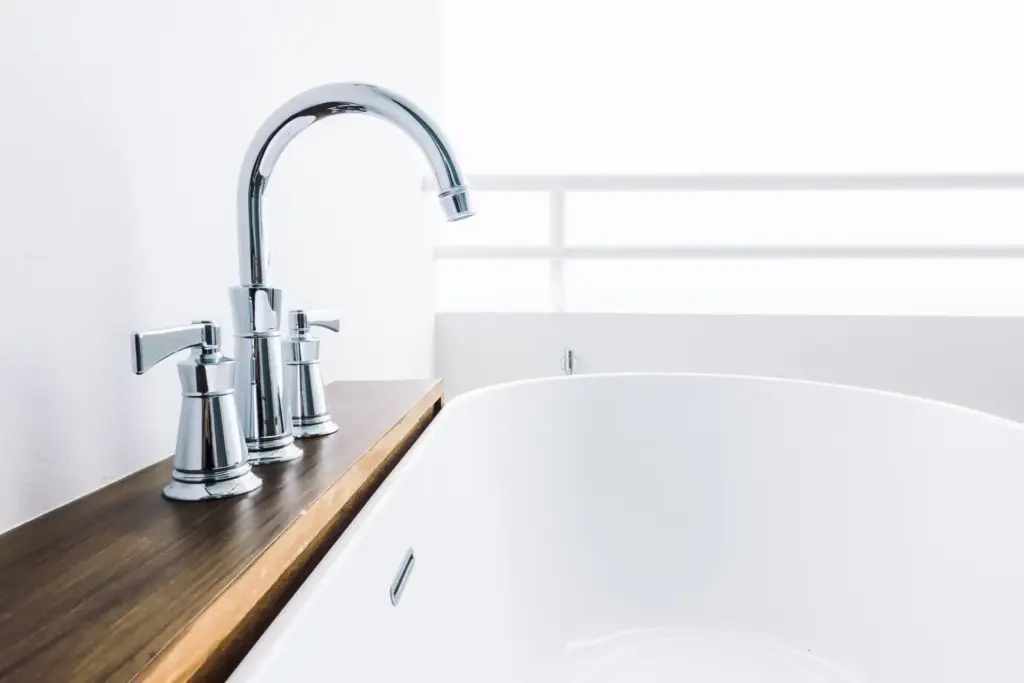
Spa-Ready Bathrooms on a Renter’s Timeline

Water-Resistant Choices that Last

Not all peel-and-stick is created equal for bathrooms. Seek products rated for high humidity, and avoid direct hot water exposure unless the manufacturer explicitly allows it. Use primer-compatible films over properly cured paint to strengthen bond. Seal perimeter edges with clear silicone and keep films slightly shy of grout lines to prevent wicking. After installation, run the fan during showers and wipe condensation to maintain adhesion and preserve that spa-like, newly finished sheen.

Vanity and Mirror Makeovers

Transform a tired vanity with wood-grain or stone-look wraps on drawer fronts and sides, matching edge grain for realism. Frame a mirror with metallic or matte black peel-and-stick trim for a made-to-order focal point. Work in precise miters, measure twice before cutting, and use a miter tool for clean corners. Pair with updated pulls and a soft linen hand towel. The combined effect feels tailored, elegant, and completely reversible when your lease ends.

Calm Lighting and Finishing Details

Lighting multiplies the effect of every surface. Use warm, diffuse bulbs that flatter textures and soften reflections from satin and brushed films. Add peel-and-stick metallic accents on small shelves or soap niches, anchoring visual rhythm. Finish edges with slim profiles so lines read intentional, not improvised. Keep palettes tight—two neutrals and one accent—to maintain serenity. The result feels like a boutique hotel, achieved with removable layers and a weekend of careful, rewarding work.

Floors That Impress Yet Lift in a Weekend

Peel-and-stick planks and tiles can deliver convincing wood and stone underfoot when subfloors are smooth, clean, and level. Adding a thin underlayment board keeps original finishes safe and simplifies removal when you move out. Meticulous layout, staggered seams, and thoughtful transitions at thresholds make the installation read custom. Choose thicker wear layers in entries and kitchens, and supplement with rugs to soften acoustics. With planning, you gain style, comfort, and stealth durability without permanence.

Color and Texture Harmony

Start with undertones—warm taupes, cool grays, or neutral beiges—and ensure cabinets, floors, and surfaces share the same family. Matte textures feel calmer and read more expensive under household lighting. Use subtle texture changes to layer depth without chaos. If pairing wood and stone looks, keep grains quiet and veining understated. Add one contrasting accent, like brushed brass, to punctuate the palette. Harmony allows affordable materials to stand confidently and read convincingly elevated.

Scale, Grout, and Edge Realism

Realistic installations respect proportion. Oversized marble veining on tiny counters or micro grout lines on large tiles break the illusion. Match grout-color prints closely to actual grout tones used elsewhere. For edges, avoid exposed film layers; conceal with trim or fold neatly under profiles. Chamfer corners with heat and pressure so wraps hug shapes as real materials would. These small calibrations eliminate telltale cues, convincing even design-savvy visitors that your finishes belong.

Budget, Sourcing, and Planning Without Regrets

A high-end look does not require a high-end bill. Price per square foot varies widely by brand, thickness, and finish realism, so calculate total coverage including ten to fifteen percent overage for cuts. Order samples, compare under your lighting, and consider return policies. Read installation guides and watch brand-specific videos before committing. Assemble a tool kit once—quality blades, squeegee, heat gun, trim—for smoother projects. Careful planning saves money, time, and frustration while elevating results.

Measure, Mock Up, and Visualize

Measure twice in both directions, subtracting obstacles and adding waste for pattern alignment. Create paper templates for outlets, sinks, and corners, then test with painter’s tape before cutting material. Print or sketch layouts to foresee seam placement and pattern flow. If possible, stage a small mockup on foam board to judge veining direction and sheen. Visualization prevents costly miscuts and ensures the final installation matches the elegant look you imagined when you started.

Compare Brands and Specs

Beyond color, focus on technical details: thickness, wear layer, adhesive type, UV stability, and moisture rating. Search for third-party tests or long-term reviews rather than relying only on polished photos. Some brands excel at counters, others at walls or floors. Weigh sample feel in hand—stiffer films often lay flatter—and examine micro-textures that scatter light naturally. Prioritize reliable customer support and clear instructions, because those two elements can rescue a weekend project under pressure.

Troubleshooting, Care, and Clean Removal

Even careful installations meet reality: humidity spikes, curious pets, and daily wear. Fortunately, most hiccups are fixable with heat, pressure, and precise trimming. Address bubbles immediately by pricking with a fine pin, warming, and smoothing outward. Reinforce corners with additional adhesive if recommended by the brand. For maintenance, avoid abrasives, use gentle cleaners, and protect high-impact zones. When moving out, patience pays—warm, peel slowly, and cleanse residue, leaving your rental pristine and deposit-ready.

A Weekend Kitchen Glow-Up

Friday night: measuring, cleaning, taping reference lines. Saturday: backsplash installed with laser-straight courses, outlets trimmed cleanly, and under-cabinet lighting uncovering delicate tile shadows. Sunday: counters wrapped, edges burnished, silicone bead cured. By dinner, mismatched appliances wore brushed steel wraps. The result looked intentional, serene, and personal—yet entirely removable when life calls for the next address and a fresh canvas waiting for new creative decisions and another renter-friendly burst of style.

Bathroom Calm on a Budget

A renter paired stone-look tiles above a vanity with matte black mirror trim, then swapped harsh bulbs for warm, dimmable ones. The room felt larger instantly. Moisture-rated films stayed tight thanks to careful sealing, and routine ventilation preserved edges. Guests assumed a renovation happened. The total cost rivaled a grocery run, and everything could lift cleanly later. Thoughtful choices reshaped daily rituals, proving transformation can be kind to wallets, leases, and weekends alike.

Join the Conversation

Tell us which finishes fooled your friends, which brands impressed you, and where you struggled so we can help troubleshoot together. Post photos, request side-by-side comparisons, or suggest rooms to tackle next. Subscribe for detailed checklists, downloadable cut guides, and seasonal ideas. Your questions and victories shape future deep dives, ensuring every renter who visits can create polished spaces, protect deposits, and enjoy the confidence that comes from beautifully executed, reversible design decisions.
Lemekuxarixamanufe
Privacy Overview

This website uses cookies so that we can provide you with the best user experience possible. Cookie information is stored in your browser and performs functions such as recognising you when you return to our website and helping our team to understand which sections of the website you find most interesting and useful.